
Disclosure: This article contains Amazon affiliate links. As an Amazon Associate, I earn commission from qualifying purchases.
I’ve been wanting a Real Gaming PC for a while now, but it’s always been just out of reach. Luckily, I was recently able to save up a little to invest in a PC for less than $650! I purchased my parts in the Netherlands on Megekko.nl, but I will add Amazon affiliate links to the parts or to suitable replacements. Here’s a rundown of the parts I used.
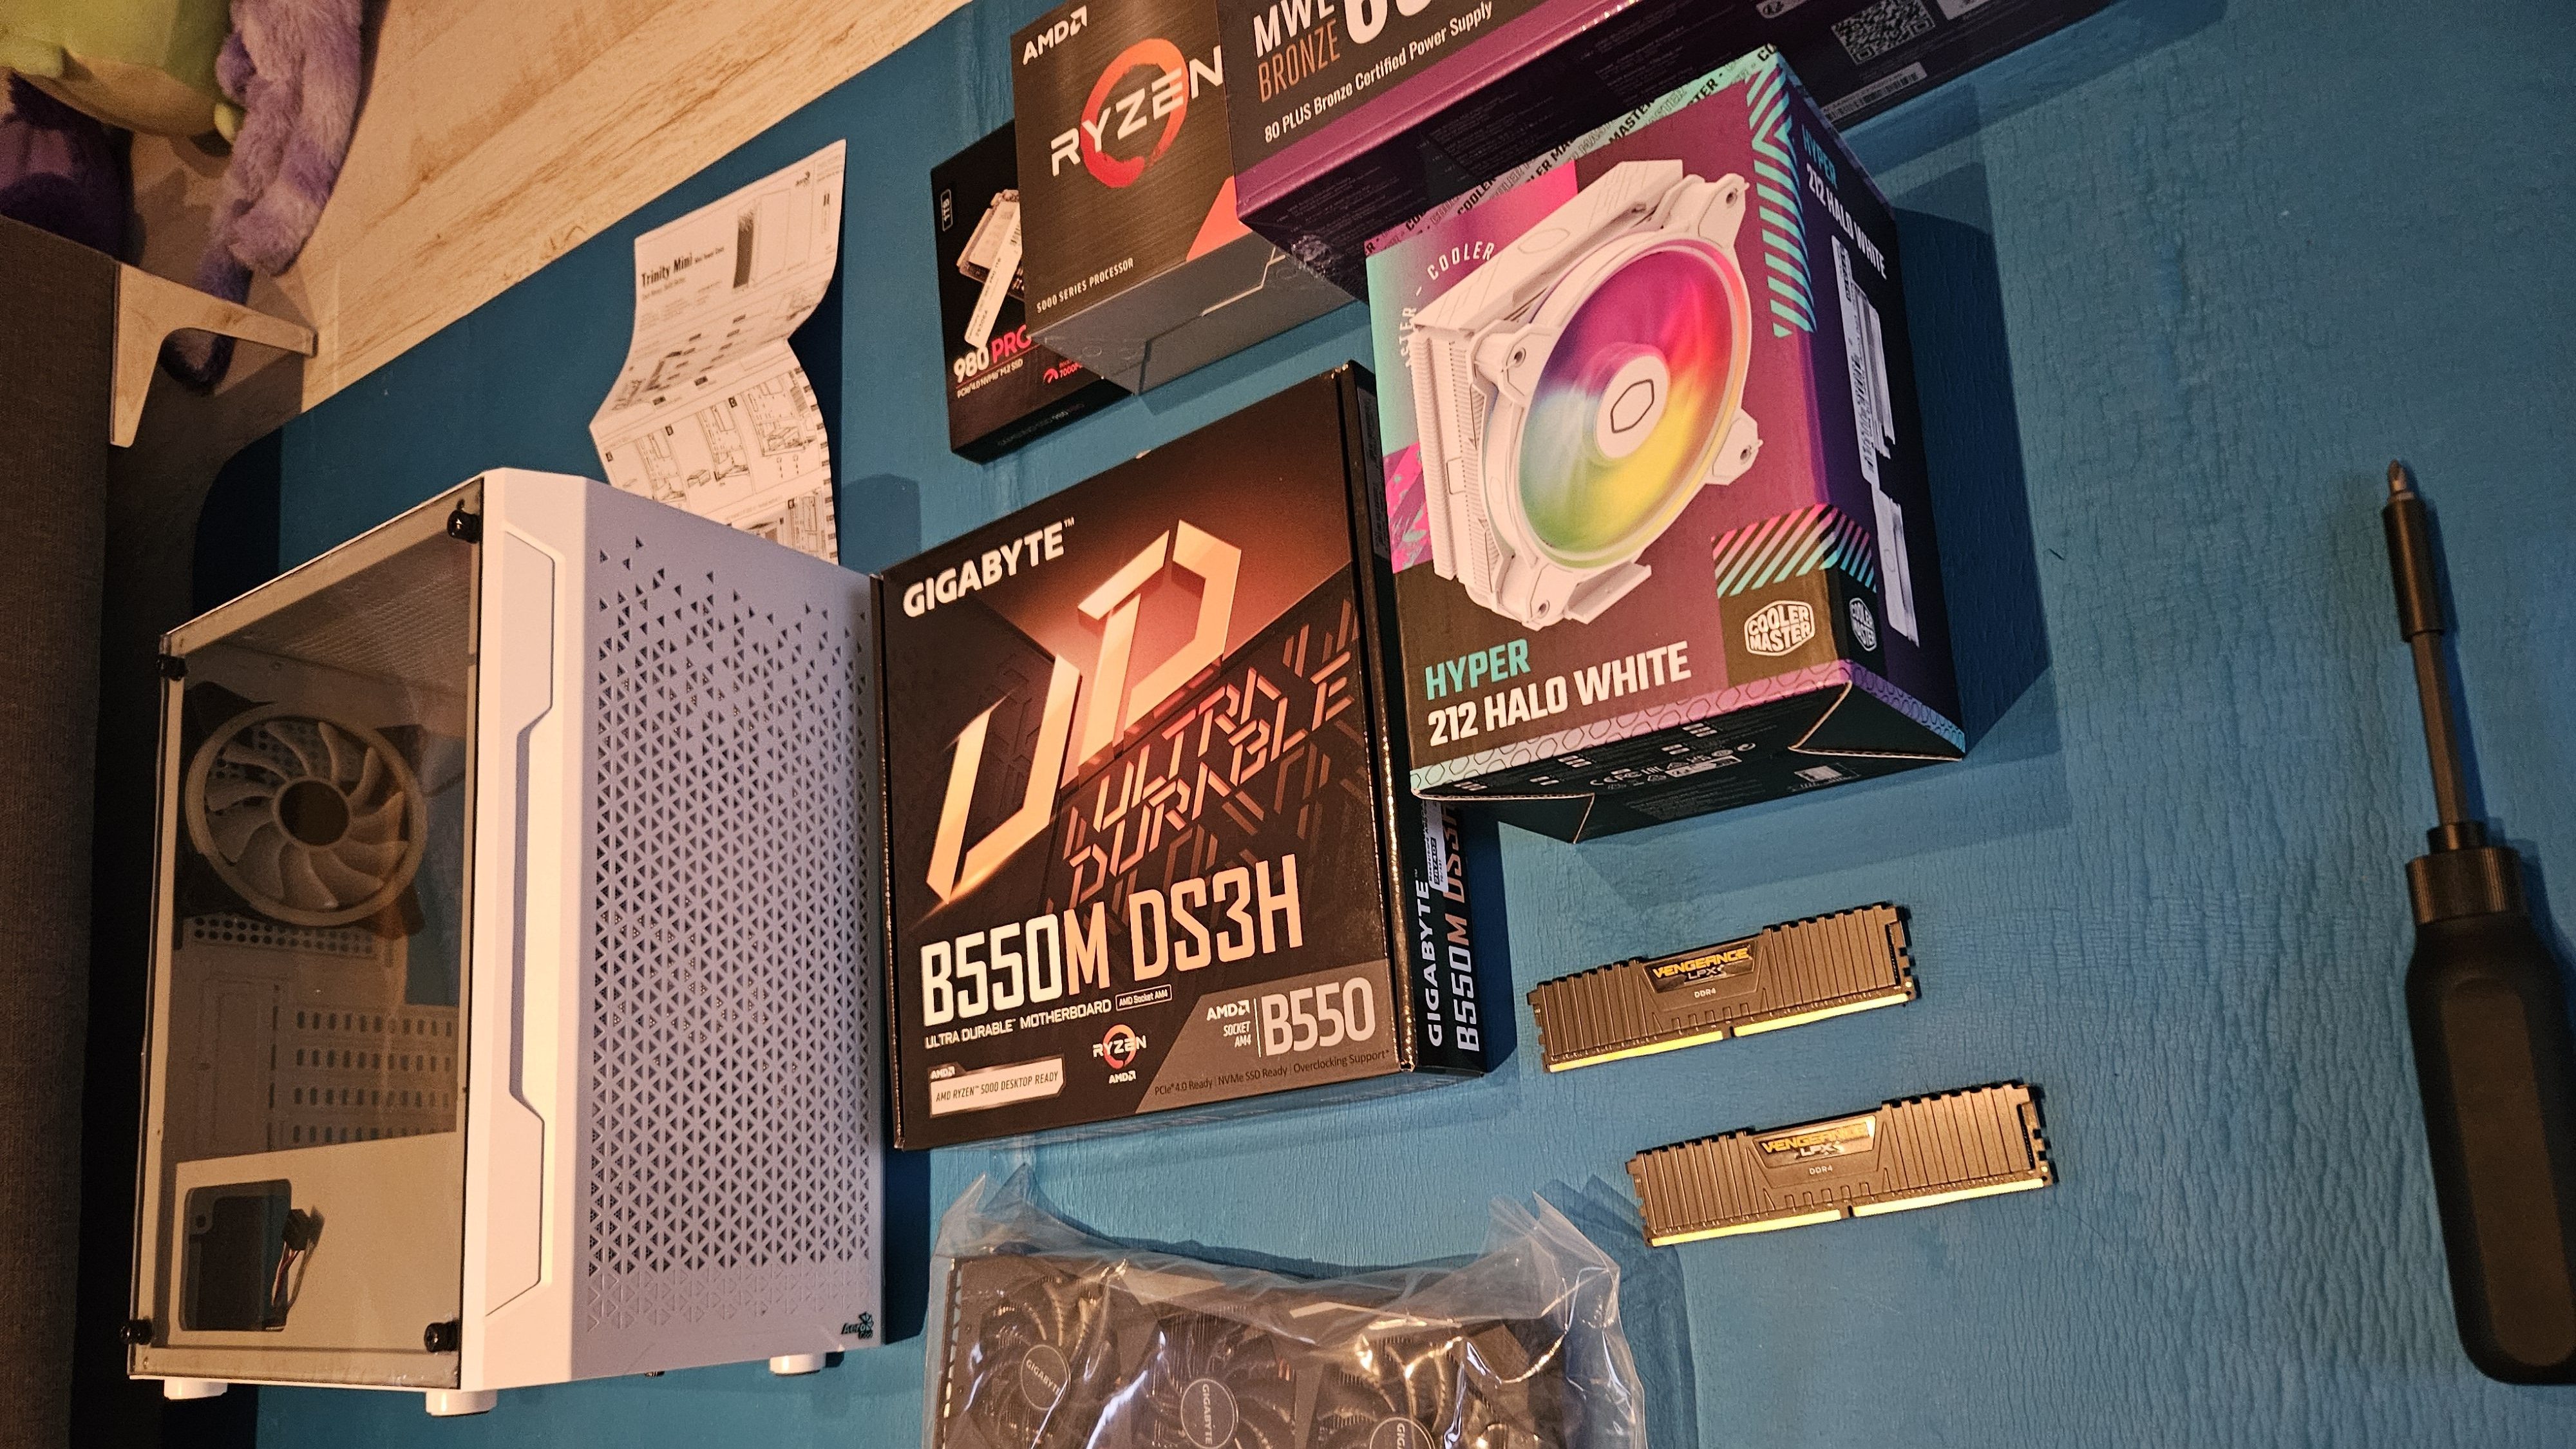
Tower: Aerocool Trinity Mini V3 White ($70)
This tower is a micro-ATX, which means it’s pretty compact and requires a micro-ATX motherboard. It comes with RGB fans and is pretty light. The fans came pre-installed as well, even though it came with instructions on how to install them.
The closest I could find to the white case I bought is this Aqua 3 Micro ATX case, which sells for $70. The black version is $10 cheaper.
The closest match I could find in white to the Aerocool is this Antec NX410 ATX Mid-Tower Case, which is approximately the same dimensions and price.
This white Zalman P30 Micro-ATX case is slightly bigger than the Aerocool, but it also comes with more fans and a bigger glass, so you can admire your computer guts from more than one angle!
Whatever tower you decide to build your PC in, make sure you read the maximum dimensions for your motherboard and graphics card (GPU).
Motherboard: Gigabyte B550M DS3H ($95)
This motherboard is pretty solid, especially as a budget motherboard. It’s available for only $95 on Amazon. As someone who was building her computer for the first time, I found this motherboard to have really clearly labelled ports and it was easy to figure out where to plug the various ports. However, it’s important to keep in mind that the Gigabyte B550M DS3H only has an Ethernet port, so if you want WiFi or Bluetooth, you’ll need to install extra parts (which I cover at the end of the article).
Here is a link to the Gigabyte B550M DS3H.
Processor: AMD Ryzen 5 5600 ($107)
This was the most expensive part in my build, and the most important. The processor is essentially the part of the computer that deals with most of the data and executes tasks. It needs to be compatible with the motherboard because it sits on top of it, so keep that in mind when you’re shopping around!
I used the AMD Ryzen 5 5600. You can tell that it’s compatible with the motherboard because the motherboard and the CPU both have an “AM4” socket. If you choose to buy a different motherboard or a different CPU, be sure to check if they have compatible sockets!
Here is the link to the AMD Ryzen 5 5600.
RAM: Corsair Vengeance LPX DDR4 32GB ($33)
A friend of mine was upgrading his RAM, so he gave me his old RAM. However, you can still find affordable RAM!
The Corsair Vengeance LPX DDR4 32 GB is available on Amazon for just $50. If you just want your PC for casual gaming or work, however, the same model of RAM is available for $33!
If you want a white option, you can also buy the 16GB white Corsair Vengeance RGB Pro for $50 or the 32GB for $76.
Graphics Card (GPU): GeForce GTX 1660 Super ($115)
My brother sold me his old GeForce GTX 1660 Super for $100, which is a steep discount. You can find it on Amazon for around $190. In case you don’t have a little brother handy, the GTX 1650 is around $115 and should be good enough to play most games without any problems!
If you want a white GPU on a budget, you could also try the maxsun AMD Radeon RX 580, which is only around $100! This is a good budget option and you’ll be able to play most games on this with no problem.
Hard Drive: Samsung 980 PRO 1TB M.2 SSD ($117)
I used the Samsung 980 PRO 1TB M.2 SSD, which is $117 on Amazon. SSDs can access files faster than HDDs. Since this is my starter PC, I don’t need more than 1TB for all of my games. If I need more space in the future, I can just add a new hard drive to my build.
Power Supply Unit (PSU): Cooler Master MWE Gold 750 V23 ($50)
For my power supply, I chose to purchase the Cooler Master MWE Gold 750 watt. This is largely because it was actually cheaper in the Netherlands (it saved me about $40). However, you can still purchase it on Amazon for around $90.
If you don’t want to drop a lot of money on your power supply, you can buy a more affordable one like the Thermaltake Smart 700W ($50) or the Apevia ATX-PM650W Premier 650W ($60 and comes with RGB!).
It’s important to check that your power supply will fit in your case, so be sure to make note of the dimensions!
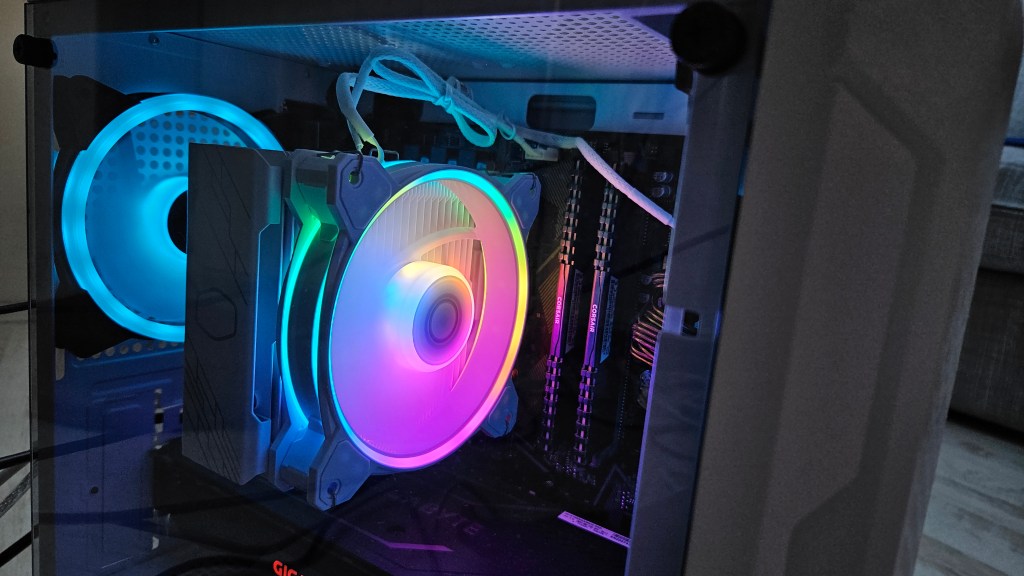
Cooler: Cooler Master Hyper 212 ($34)
To ensure that your PC doesn’t overheat, it’s advisable to buy a cooler. The cooler sits on top of your CPU and keeps it the right temperature. I bought the Cooler Master Hyper 212 White for around $30 (on sale) because it was easy to install and came with RGB. Eventually, I want to have an all-white build! So, this was an exciting purchase for me.
This cooler was super easy to install; putting on the thermal paste was a little nerve-wracking.
Getting WiFi ($4-20)
Of course, you’ll want to connect your PC to WiFi or Ethernet! You can do the latter through an Ethernet cable if you have an Ethernet port available to you. The other way to get WiFi is by connecting a WiFi adapter, which is relatively inexpensive.
You can buy an Ethernet cable here for as little as $4 depending on how long you want the cable to be!
You can get a super simple budget WiFi adapter here for $20. For a faster, slightly more expensive, WiFi adapter that includes Bluetooth, you can get the Cudy New AX3000. However, make sure that your motherboard has a free PCIe x1 slot so that you can plug it in!
Installing Windows
To install windows, you’ll need to go to Microsoft’s page about how to install windows here. From there, you’ll want to click Windows 10 and follow the instructions.
If you want to download Windows 11, it gets a bit more complicated because it requires a TPM 1.2 or better, so I haven’t done it. However, there are instructions about it on the Microsoft website that you can read through here.
Have Fun!
This build is for a budget PC around $710. However, you can thrift some of the more expensive parts and save quite a bit, like I did! Make sure you’re safe while buying items second hand by following basic Internet safety.
Let me know if this guide was helpful!


Leave a comment